Read time: 5 minutes
Here is a step by step guide on how to use the Route & Fuel Optimizer feature in Trucker Tools’ new driver app.
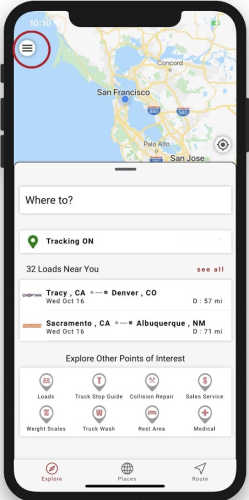
Step 1
To access the Route and Fuel Optimizer feature, go to the menu by clicking the menu icon with the three lines in the top left corner of your screen.
Step 2
Click on “Routing & Fuel Optimizer”.

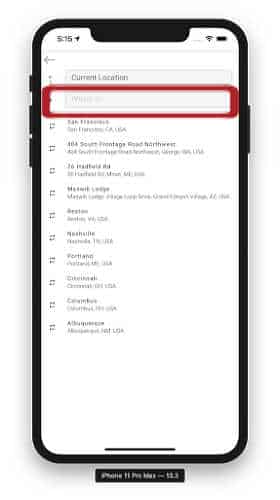
Step 3
You will be prompted to enter your destination.
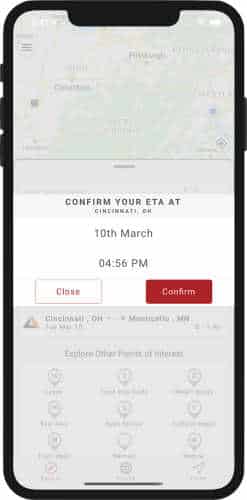
Step 4
Once you have entered your destination, you will be asked to verify your ETA at that destination.
Step 5
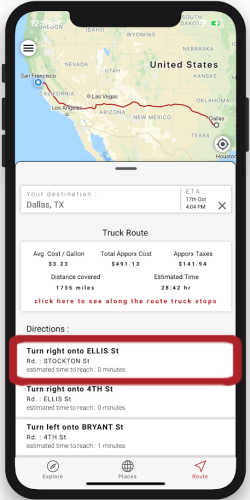
If you select the directions tab on the bottom right of your screen, you will see turn by turn directions for the truck specific route.
Step 6
If you click on any of the specific way points or directions, you will see on the map view where along your route that direction applies.
Step 7
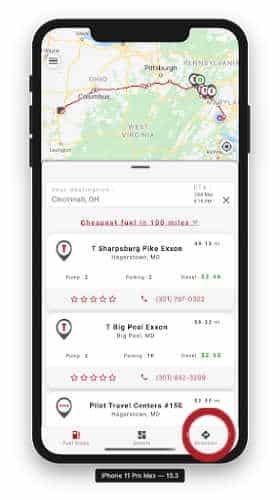
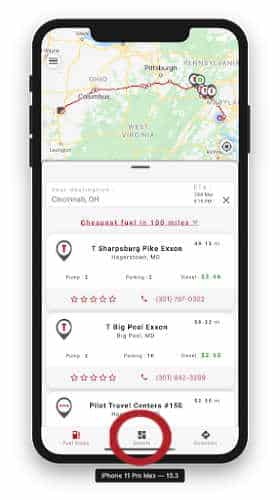
To view the truck stops with the cheapest fuel along your route, click on the Fuel Stops icon on the bottom left side of your screen.

A map and list view of truck stops along your route will open up.
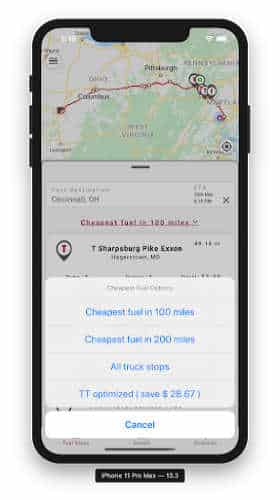
Step 8
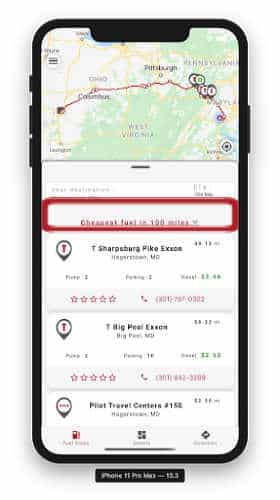
You are given the option to filter the Truck Stop list by clicking on the drop down menu at the top of the list which defaults to “cheapest fuel in 100 miles”. This drop down menu gives you options to view trucks stops based on distance from your current location, all stops along your entire route, or only stops with the cheapest fuel.
Step 9
You can click on the details tab on the bottom of your screen to see a summary of your truck route information.
You can download our Trucker Tools free driver app by clicking the button below.

If you’re already a Trucker Tools user and love our app give us a 5 star review in the app store.